VMware vCenter - Setting up vCenter Appliance SNMP monitoring
I started to run a Cacti server in my Homelab just for fun and to have an overview of some key metrics of the virtual machines, servers, switches, storage and any other SNMP capable piece of kit at home.
However, over the years made me learning some things whenever some special configuration was needed or some more when you would need create your own data collectors and dependencies.
So at the moment it is monitoring 35 devices.
But let’s get back to the topic of the post.
Setting up SNMP monitoring in VMware vCenter Appliance
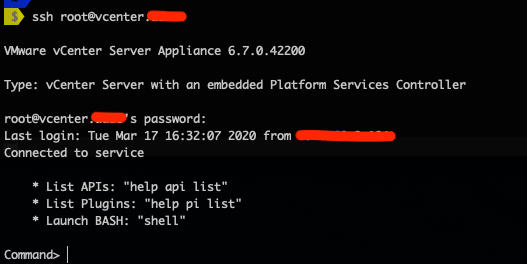
Connect via SSH to vCenter
The configuration will be done through the vCenter Appliance Shell.
To get to the shell you will need to SSH to the vCenter Appliance, to be able to run a couple of shell commands.
In case you login directly to BASH shell you can re-activate the Appliance shell again with the following
chsh -s /bin/appliancesh rootMore detailed info in KB 2100508 - Toggling the vCenter Server Appliance 6.x default shell
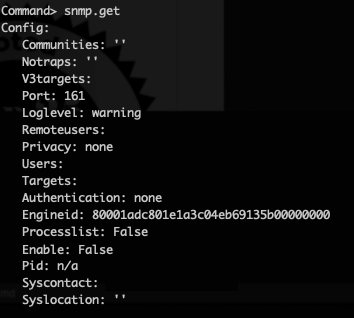
Check the initial state
You can check the vCenter SNMP initial configuration using snmp.get command on the Appliance Shell
Setting it up
We will setup a basic configuration to be able to use SNMP v2 and a community string. The shell commands to use will be:
-
Setup SNMP v2 community string
snmp.set --communities <community string> -
Setup contact info
snmp.set --syscontact <user contact> -
Setup a location name/id
snmp.set --syslocation <location name/id>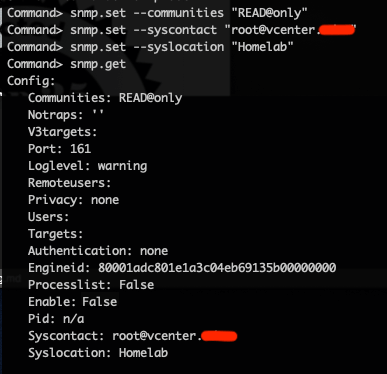
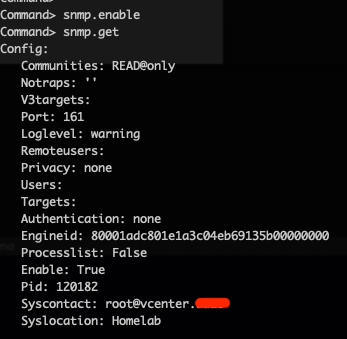
Last step - Enabling it
To enable it we need to run snmp.enable in the Appliance shell.
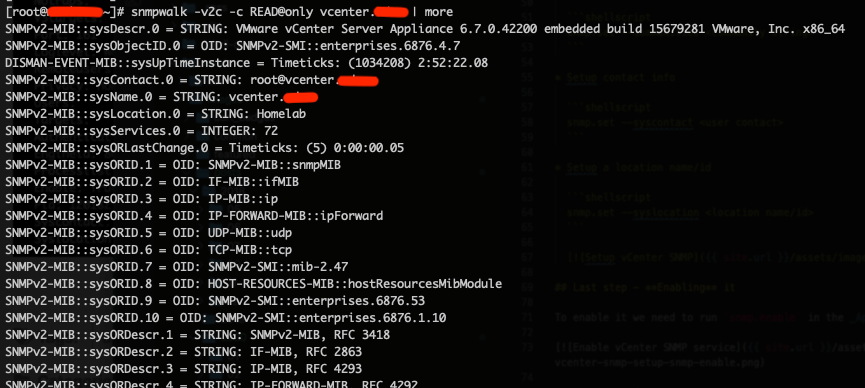
Checking if our setup works
Testing with a snmpwalk command line utility.
Checking our Cacti server
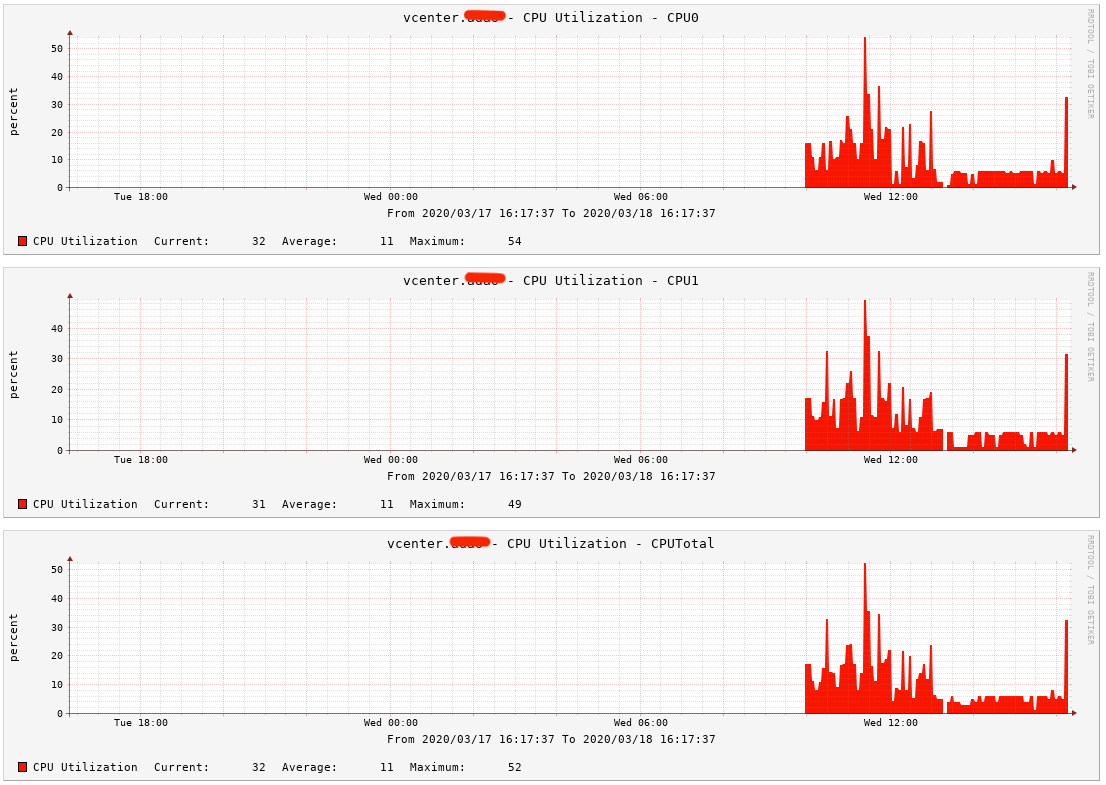

It seems that all is good to go and my Cacti server is now showing some pretty graphs.