PowerCLI - Install Powershell and PowerCLI in MacOS
This post is not a new method or even new information, it is more a consolidated run through on how to get VMware PowerCLI modules installed in MAC OS.
Installing VMware PowerCLI Powershell modules is almost a must do task for any VMware user, since it gives the ability to automate/script almost any task available through the management frontends, and a lot more that sometimes are not simply available through it.
This post goes through the necessary tasks to get VMware PowerCLI modules installed and ready to use in your MAC OS.
Pre-requirements to install VMware PowerCLI
To install VMware PowerCLI modules you need to first install Powershell Core for MAC OS.
There are two (2) methods to install Powershell Core in MAC OS:
- Using Homebrew package manager
- Downloading Powershell install package from Powershell Github and install it
Some detailed information in how to install Powershell Core in MAC OS - Microsoft Documentation website
Method 1: Using Homebrew package manager
To install Powershell using Homebrew package manager you will need to install some tools before hand.
Install MAC OS command line tools - Xcode
xcode-select –install
Installing Homebrew package manager
-
After you install Xcode command line tools you will need to install Homebrew if not already installed.
/usr/bin/ruby -e "$(curl -fsSL https://raw.githubusercontent.com/Homebrew/install/master/install)"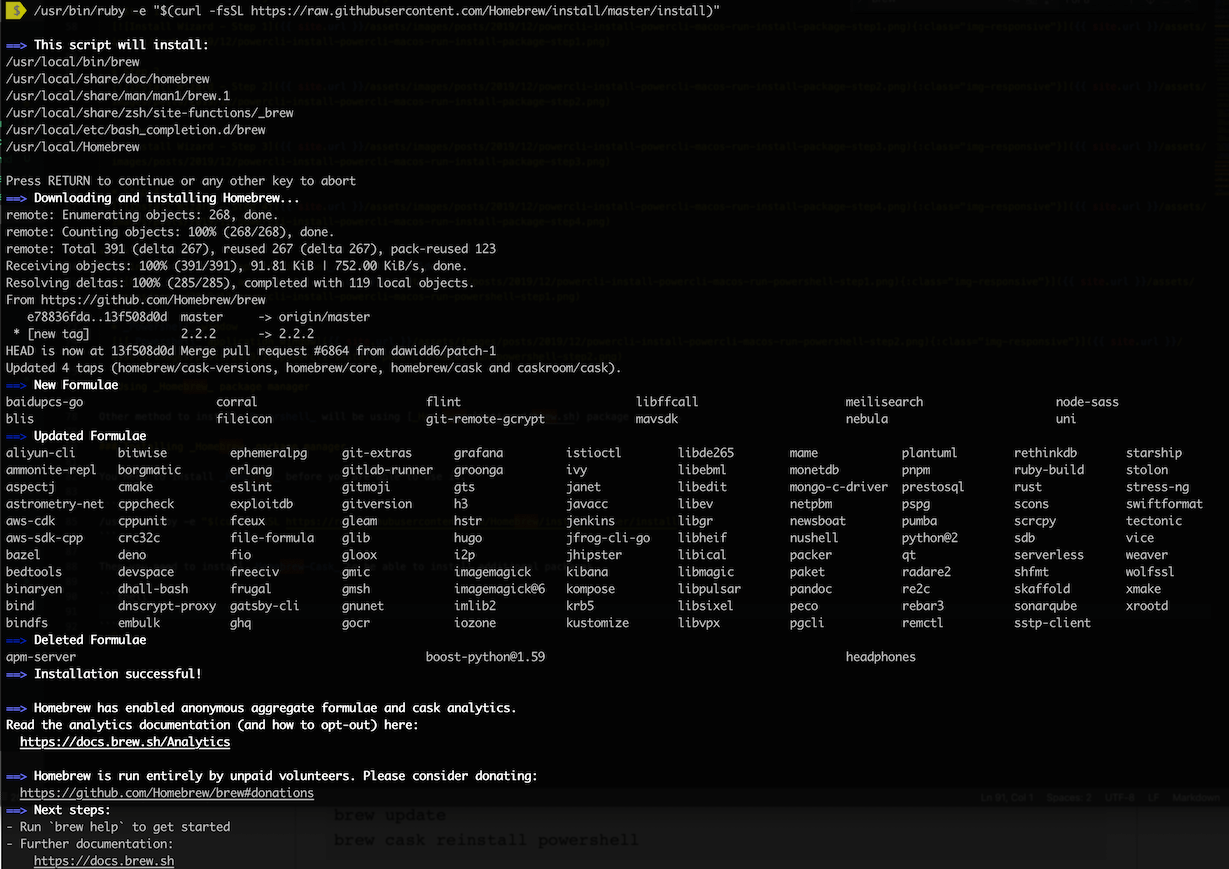
-
Then you need to install Homebrew-Cask to extend Homebrew.
brew tap homebrew/cask
Install Powershell using Homebrew
brew cask install powershell

Method 2: Using Powershell install package
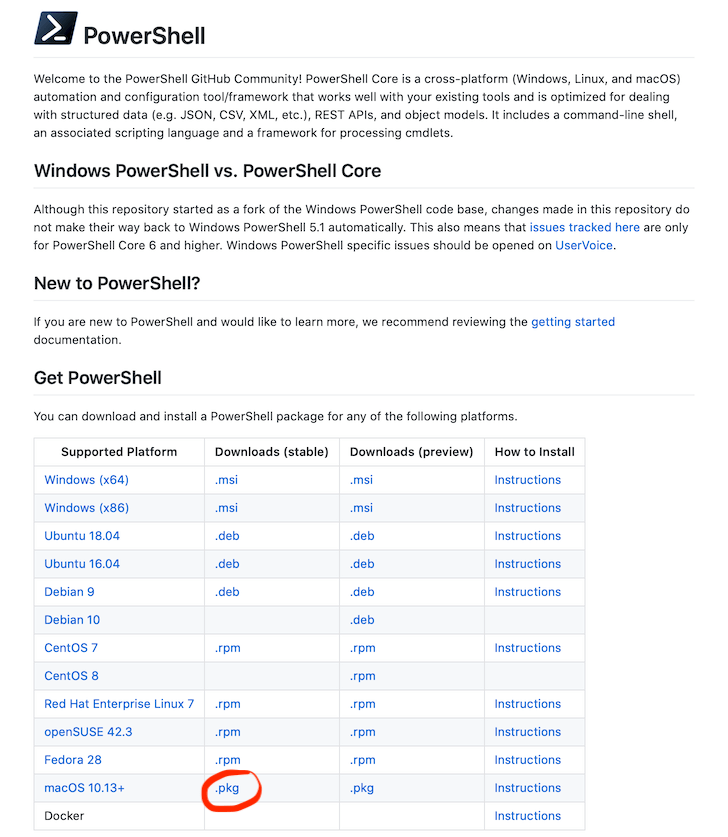
Downloading the install package
You can download the installation package from the Powershell Github page.
You can download the stable or preview versions depending how brave you are.
Installing Powershell package
-
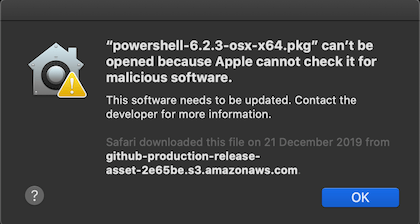
Run installation package
The installation package will need to be allowed through the security framework before it allows you to install.
-
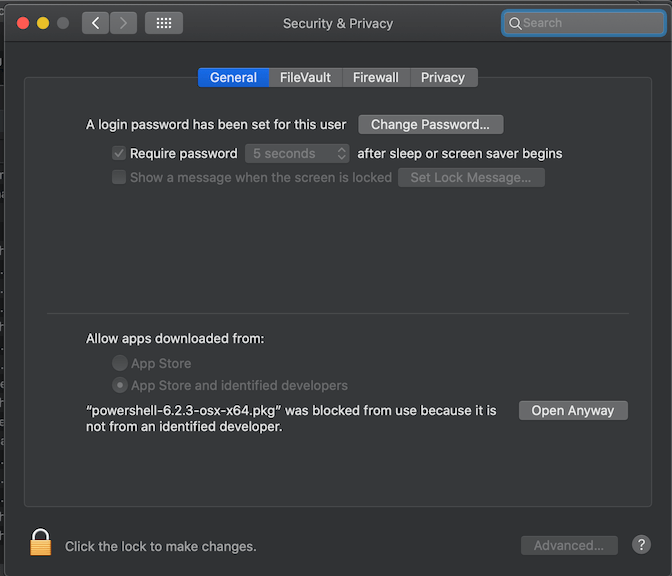
Allowing the installation package through system security policies
-
Re-Open installation package

-
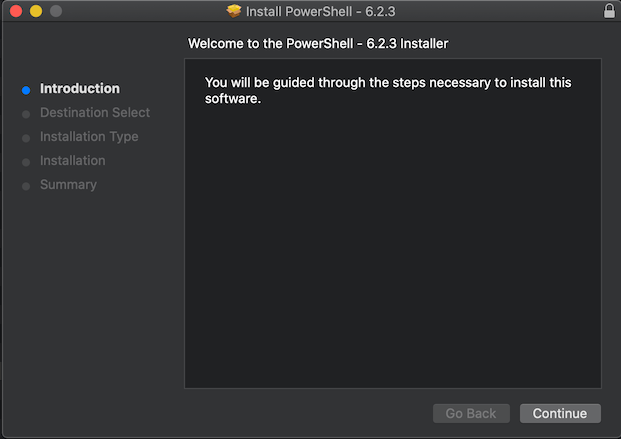
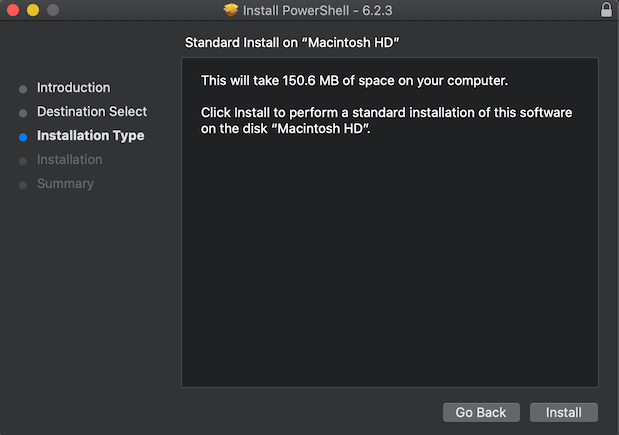
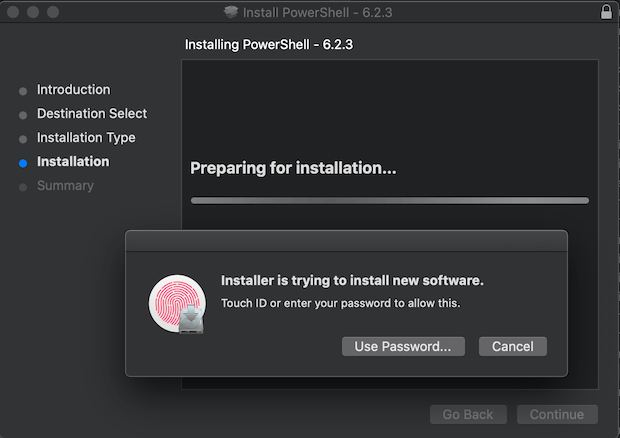
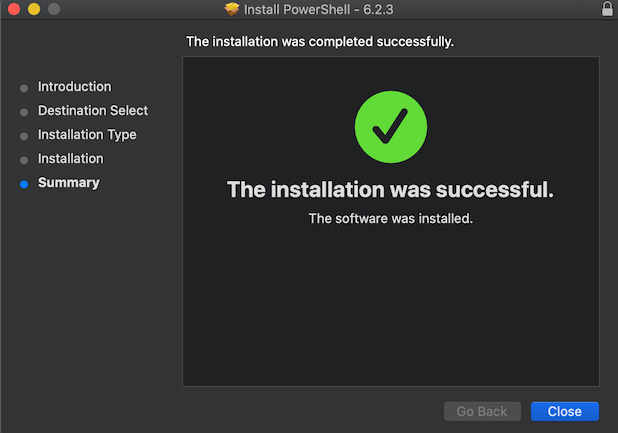
Install Powershell using installation package
-
Step 1
-
Step 2
-
Step 3
-
Step 4
-
Run Powershell
-
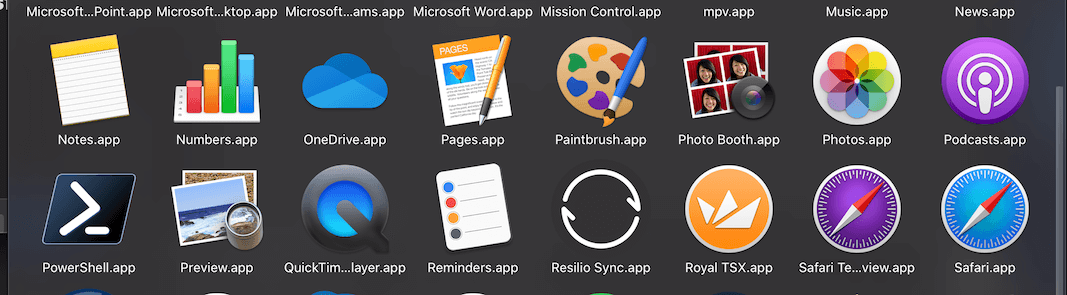
Find Powershell app icon in the Application folder or run from a shell
-
-
Or run from a shell
pwsh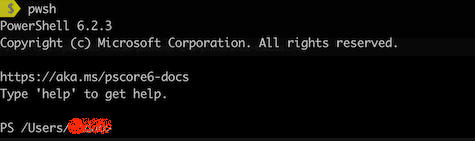
-
-
Powershell window
Install VMware PowerCLI Powershell modules
Once we get Powershell installed we can install VMware PowerCLI modules.
Since VMware PowerCLI modules are now available from PSGallery repository we can install it directly from within a Powershell environment.
-
First we need to start a Powershell instance
We can use any of the methods described before in Run Powershell section
-
Let us check what VMware Powershell modules are available to be installed through PSGallery
Find-Module VMware.*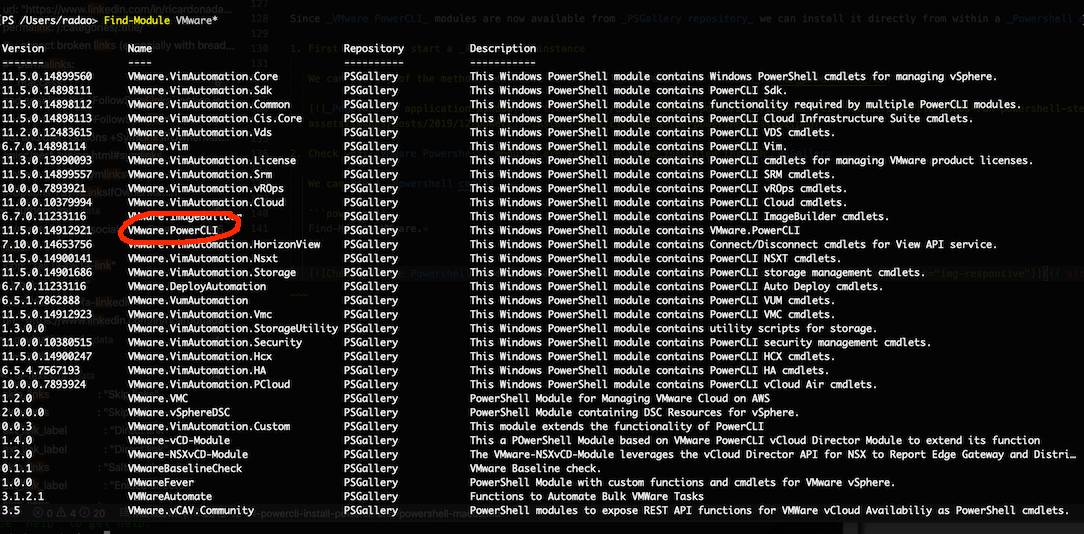
-
We will install VMware.PowerCLI
Install-Module -Name "VMware.PowerCLI" -Scope "CurrentUser"We are installing VMware PowerCLI modules only for the current user, hence -Scope “CurrentUser” parameter

We could set PSGallery repository to be Trusted using Set-PSRepository -Name “PSGallery” -InstallationPolicy “Trusted”, however I personally prefer to keep it Untrusted and answer the question when needed
-
Let us check if VMware PowerCLI module is ready to go
Get-Module "VMware.PowerCLI" -ListAvailable | FT -AutoSize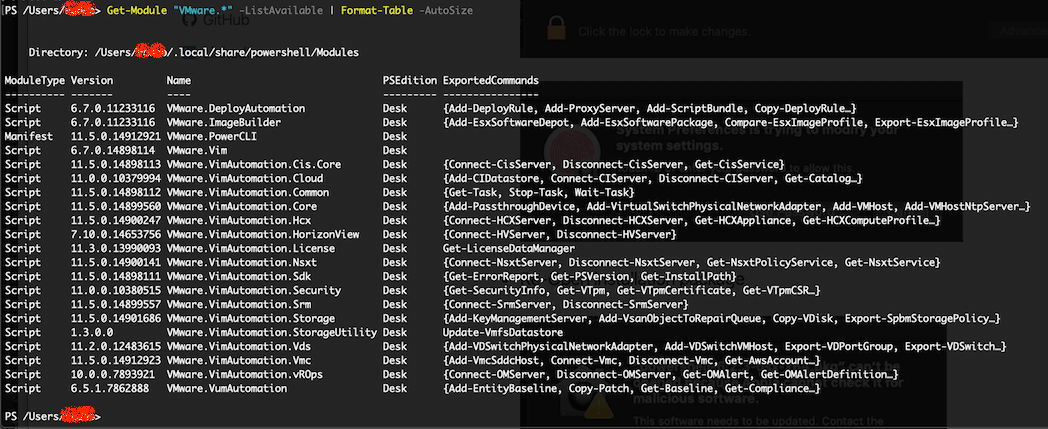
We seem to have all the VMware.PowerCLI modules that we need installed, so we should be ready to go.